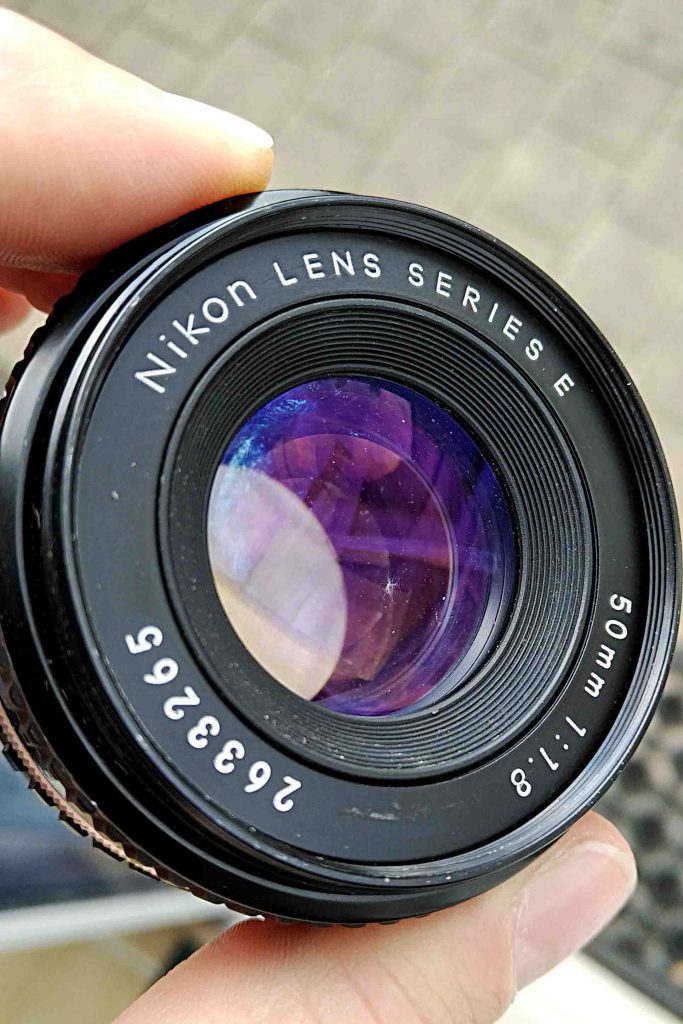
Recently I purchased a Nikon EM camera really cheap. The camera body was OK; the light meter did not even show the ‘jumpy needle syndrome’. With the camera came a Nikon 50mm f/1.8 E lens. This lens showed some traces of internal fungus. I had read about it, but had never seen it in reality. At that point I was experienced in replacing camera light seals and mirror dampers, but did not feel confident enough for cleaning a Nikon 50mm f/1.8 E lens. I was reluctant in trying to open the lens to clean the fungus. I decided that the fungus was not really effecting the pictures being taken.
Within a couple of weeks though, I noticed a distinct spot of new fungus on another internal lens element.
This spot I cannot ignore. So after reading the excellent Nikon cleaning and repair descriptions at Richard Haw’s Classic Nikon Repair and Review (https://richardhaw.com/) and after viewing the You Tube cleaning instructions of mikeno62 (https://www.youtube.com/watch?v=K8eP7yxsa-c) it is time to open up this lens. I can not use the lens anyway, so I really have nothing to loose except my pride if I will not be able to solve the problem.
Cleaning of a Nikon 50mm f/1.8 E lens. The lens showing fungi on the internal lens elements.
The Lens
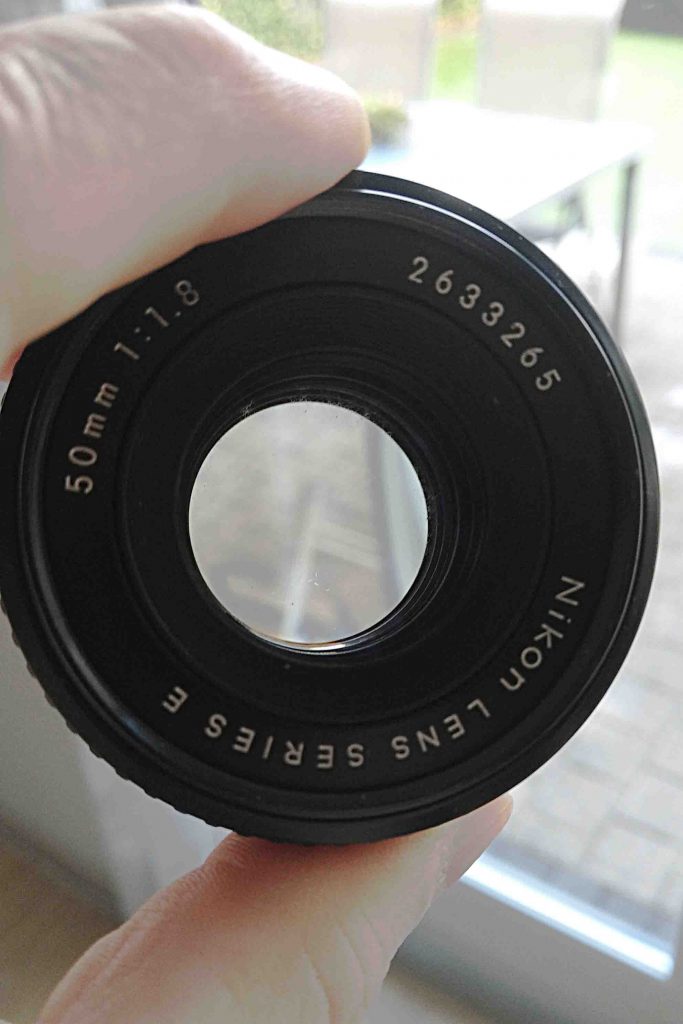
Between 1979 and 1985 Nikon produced the affordable Nikon Series E (Economy?) lenses. These ‘low-budget’ lenses accompanied the Nikon compact budget cameras like the EM, FG and FG-20. The lenses did not get the Nikkor designation, reserved for the high-end lenses The E-type cost-cutting is clearly visible in the use of plastics instead of metals and often in the tweaking of the optical formula. Fortunately, this 50mm lens has the same optical formula as the Nikkor 50mm f/1.8 Ai-S lens, resulting in a very compact design. The specific lens I have here is a late model, produced between 1981 and 1985. Where the early models have a solid plastic grip and no metal ring, this version has a rubber-like grip and an aluminum ring. This contributes to a better user-experience.
The Optics
I will start with a description of the lens construction. This will help to understand where the actual fungus problem is situated. Furthermore it will explain the disassembly in the process of cleaning the Nikon 50mm f/1.8 E lens.
The lens consists of six elements, organized in five groups, as shown in the next drawing. The front of the lens – facing the world -is on the right. The back of the lens – facing the camera – is on the left.
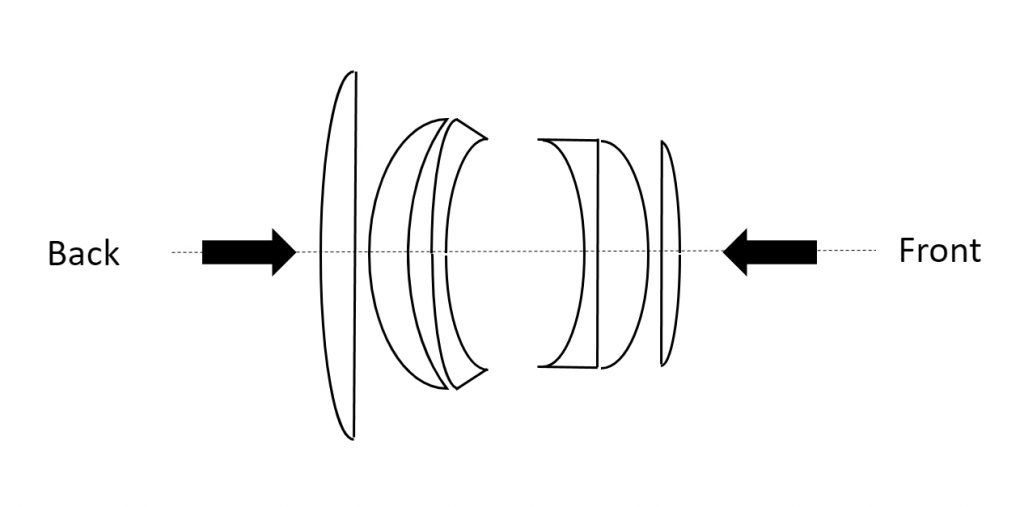
The Nikkor 50mm f/1.8 E consists of six elements in five groups.
The Fungus
I don’t know the specifics of the fungi I found in this lens. I only know that spores are omnipresent. You cannot avoid spores entering the inside of a lens, where they will feed on the coating of lens elements. It is only possible storing lenses in conditions that are not encouraging the growth of fungi. That means that you must store your lenses in a dry, not too hot environment. It helps to have the lens regularly subject to light. Using packets of silica gel will not hurt either.
Most probably, the lens I have at hand had been stored in a dark bag in a damp cellar or attic for many years. It was “granddad’s camera, a piece of antiquity”. Well, that makes me feel old, being a teenager at the introduction of this camera.
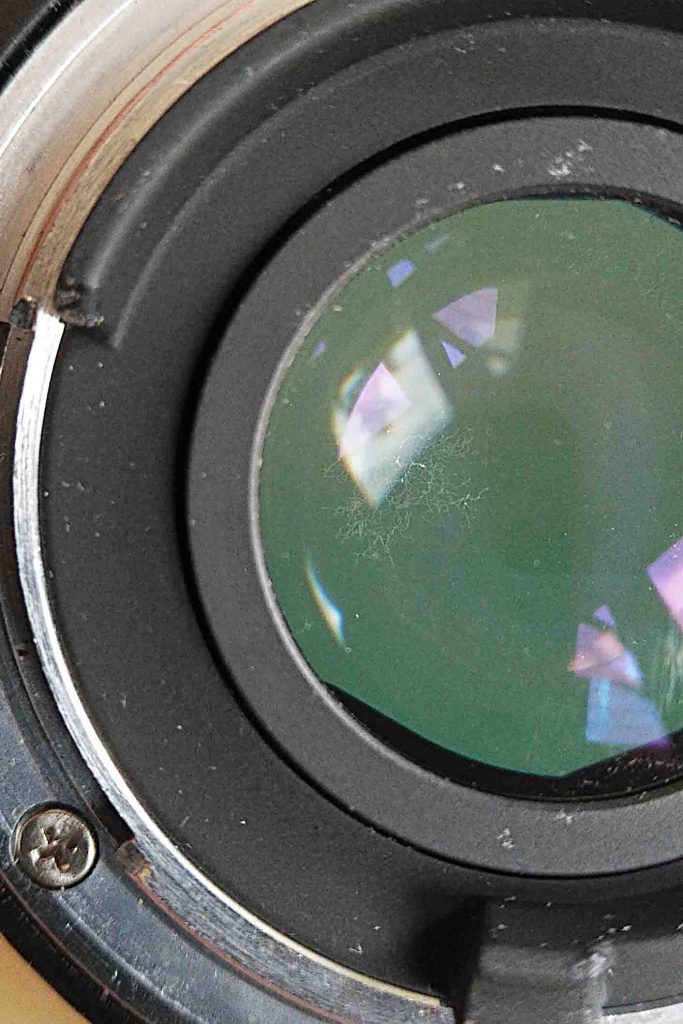
Returning to the fungi, the one that had developed most recently obviously needed my attention first. The next picture clearly demonstrates this.
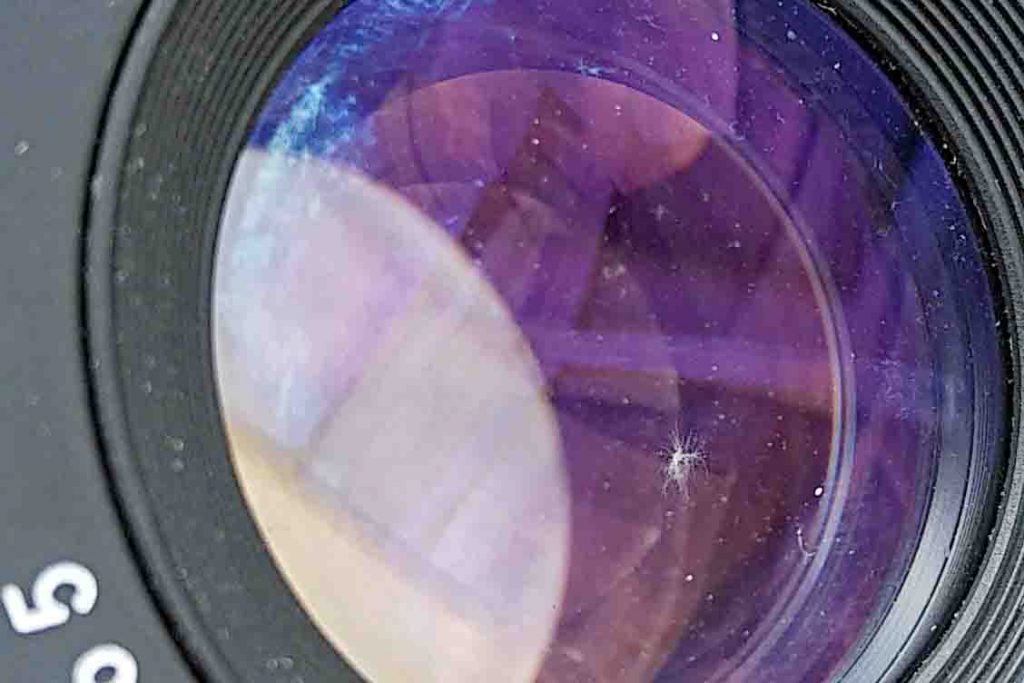
A closer look at the newly formed fungus in the 50mm f/1.8 E series lens.
The fungus is at the inside of the lens, at the front side. Thus for cleaning the Nikon 50mm f/1.8 E lens, I need to open up the lens from this side first.
Opening The Lens From the Front Side
To get to to the inside of the lens, we first need to unscrew the front bezel. That is the flat ring with the name and series number on it. This plastic bezel can be easily loosened with a rubber grip or even with your finger tips. Since this bezel is rather ‘floppy’, the pressure of the fingertips or rubber grip will prevent it at some point from turning around.
Best is to attach a piece of sticky tape and use this tape as a hold to further unscrew the bezel.
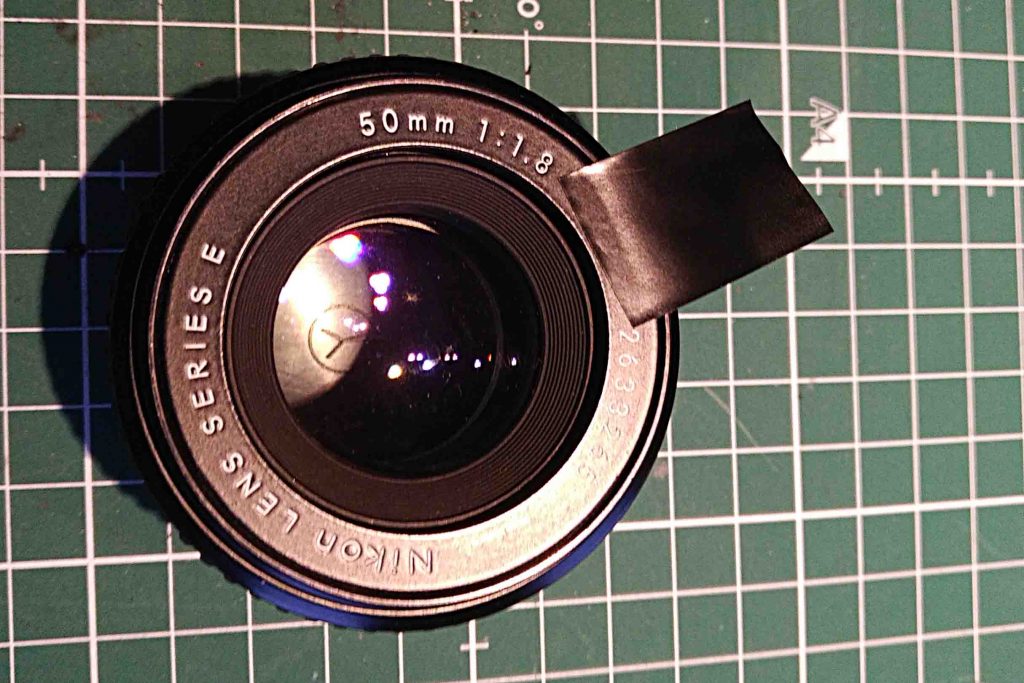
Cleaning of a Nikon 50mm f/1.8 E lens. Once the bezel is loosened, a piece of sticky tape can be used as a hold to further unscrew the bezel.
With the bezel out, we see a corrugated ring that needs to come out next.

After removing the front bezel, this corrugated rim needs to come out.
For that, we use a rubber grip again. Press it firmly against the rim and turn counter clock wise.

Cleaning of a Nikon 50mm f/1.8 E lens. With a rubber grip, firmly pressed against the rim, the rim can be removed by rotating the grip counter clock wise.
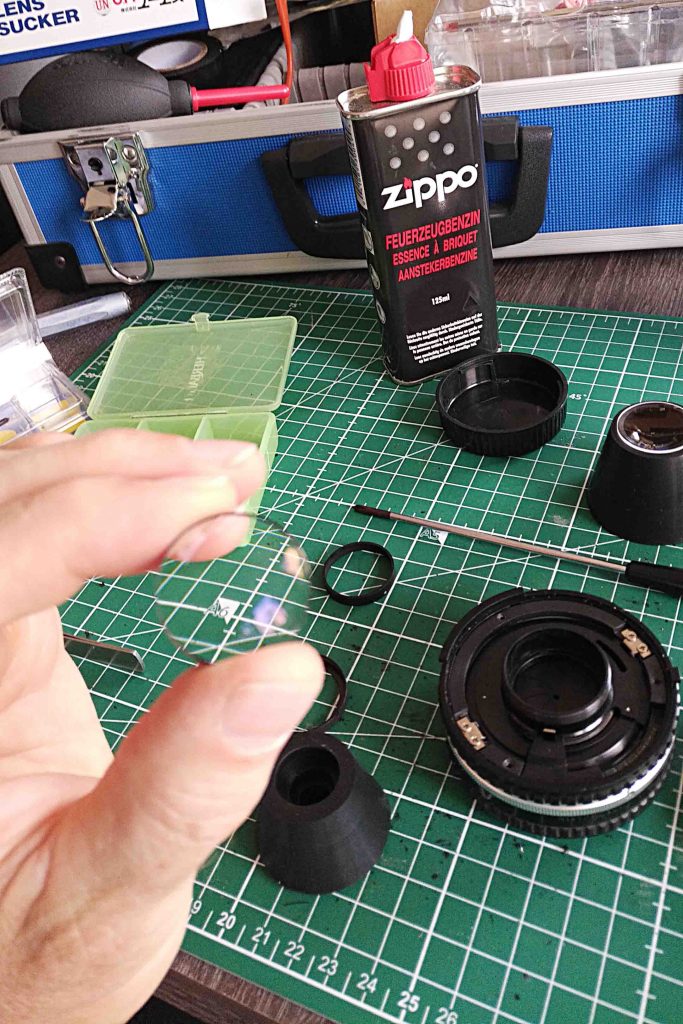
With this rim removed, we get access to the front lens element. In the next picture we see the front lens element laid down on a rubber grip. The rim is laying behind the rubber grip.
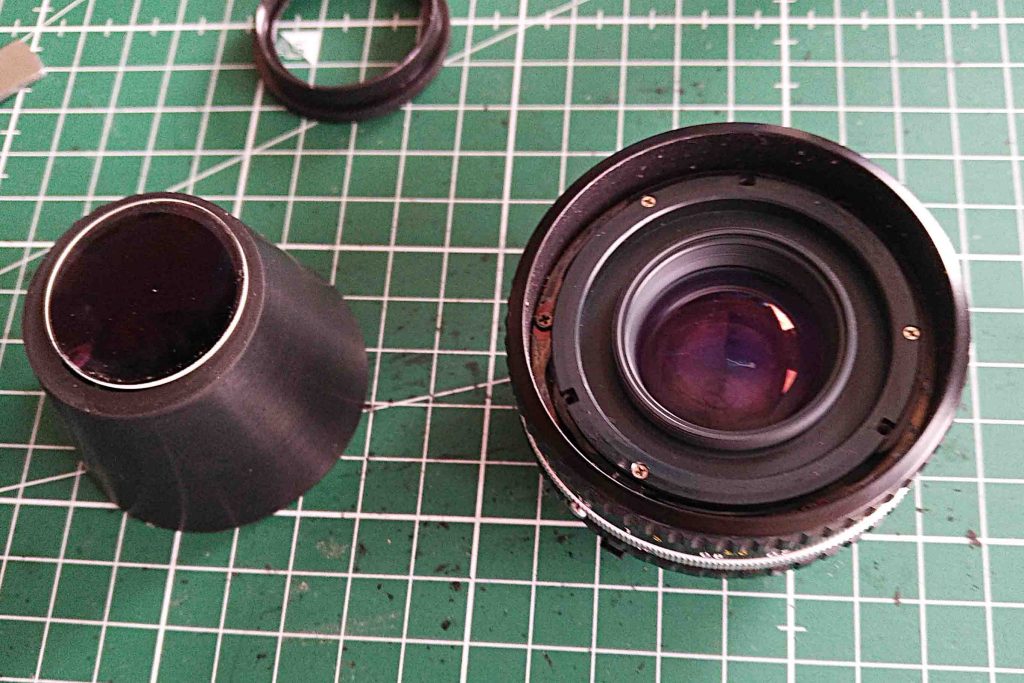
Front element laying on a rubber grip, waiting to be cleaned.
The front element shows no traces of fungus. Not on the outside and not on the inside. Therefore a cleaning with lighter fluid first and alcohol second suffices. It is more like brushing off the dust.
Cleaning Fungus
To get to to the second group, consisting of two lens elements glued together, we need to remove three screws. These screws are clearly visible in the picture above. Make sure to use a JIS screwdriver (JIS = Japanese Industry Standard) instead of a Philips screw driver! With the latter you will most probably damage or even wipe off the screw heads.
After removing the three screws, the second group can be taken out.
Fortunately, the glue is not infested by fungus. The distinct spot visible in the first picture is on the outside of the lens group. To kill the fungus and wipe off the traces we make a solution of 25ml hydrogen peroxide – 3% strength- and 75ml water.
Cleaning of a Nikon 50mm f/1.8 E lens. A solution of 25ml (3%) hydrogen peroxide and 50ml water will be used to kill and wipe away the fungus.
With a q-tip the we clean the lens elements, killing and wiping off the fungus at the same time. The result is a clear second lens group as visible in the next picture.
Second lens group cleaned from fungus.
Reassembly
Next, we reassemble the front group, taking all the steps shown before in the reversed order. We make sure to give the lens elements a final cleaning using a carbon-tipped lens pens, wiping away last traces of grease.
Cleaning of a Nikon 50mm f/1.8 E lens. With a carbon-tipped lens pens we take away last grease traces on the lens elements in reassembling the front part.
We no longer see the big spot of fungus in the front of the lens. What we do see is some fungus in the back groups of the lens.
The front end is reassembled. The big spot of fungus has gone. What remains are traces of fungus in the back groups of the lens.
So, we need to turn over the lens and work our way through the lens groups from that side.
Opening The Lens From the Back Side
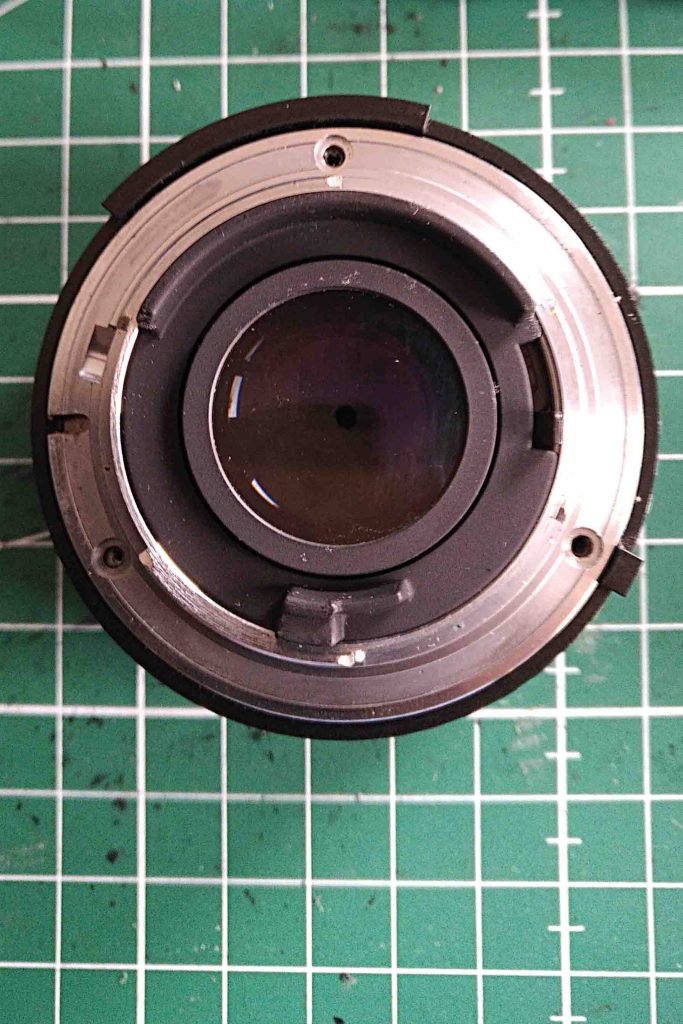
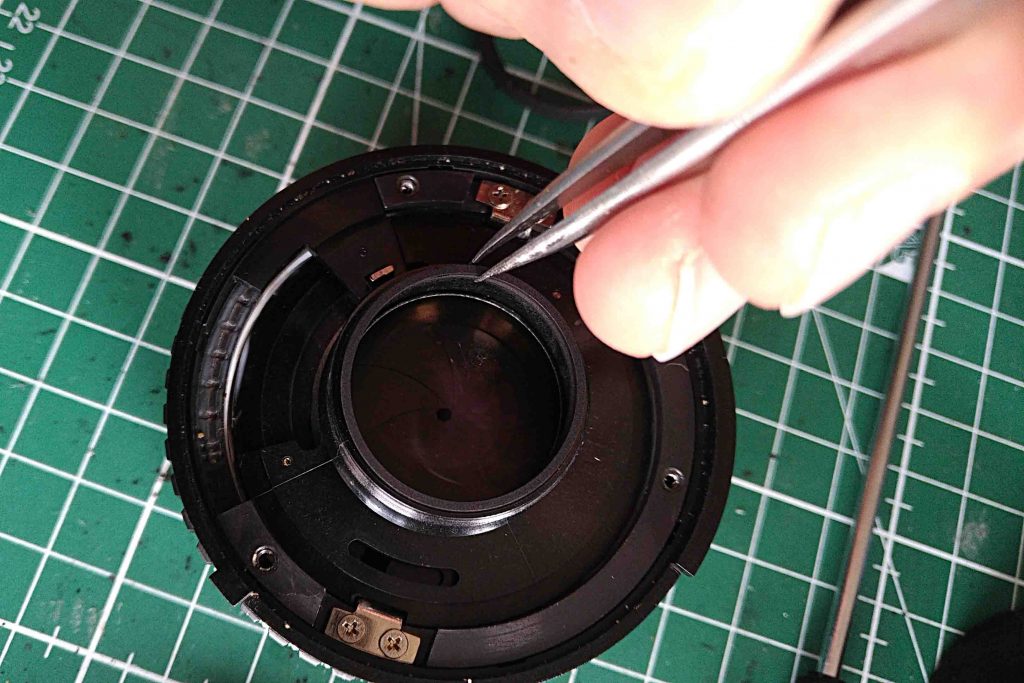
Looking from the back, that is the bayonet side, we clearly see another gathering of fungus on the inside.
Cleaning of a Nikon 50mm f/1.8 E lens. From the bayonet side of the lens we clearly see another gathering of fungus inside.
To get to the inside, we start by removing the bayonet. For that we will have to loose three screws. Again, make sure to use a JIS screwdriver instead of a Philips one.
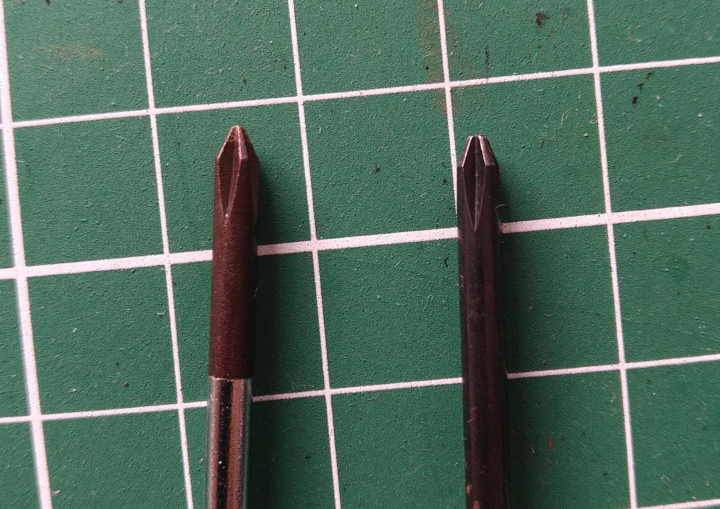
JIS screw driver left and Philips screw driver right. A subtle difference, but enough to ruin your screws when the wrong one is used.
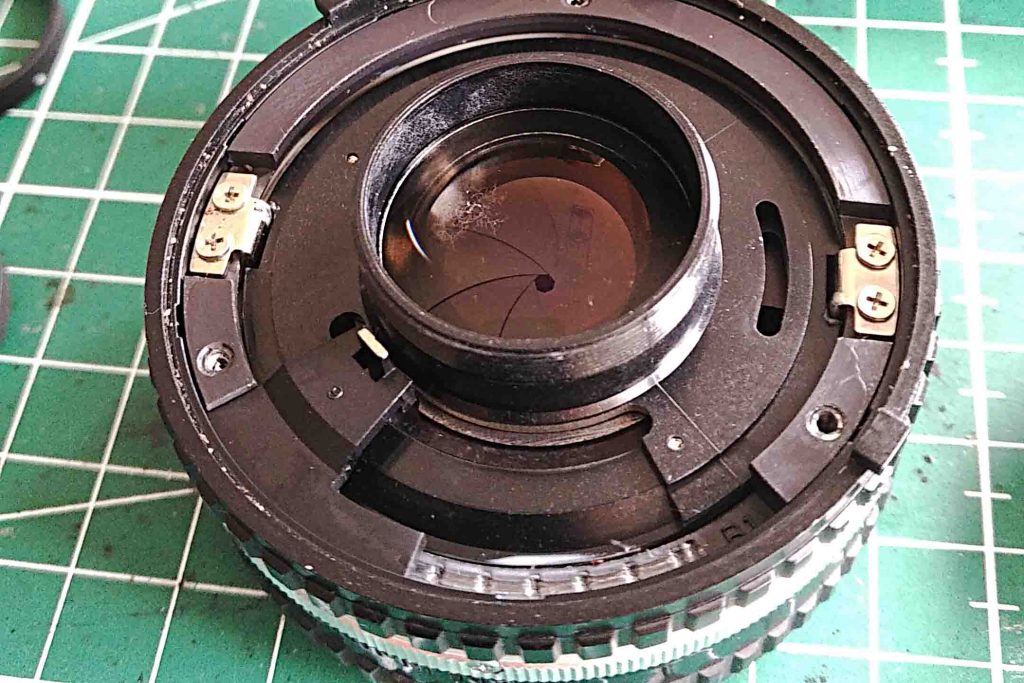
When we remove the three screws, the lens looks like this.
The three screws holding the bayonet are removed.
We can now remove the bayonet.
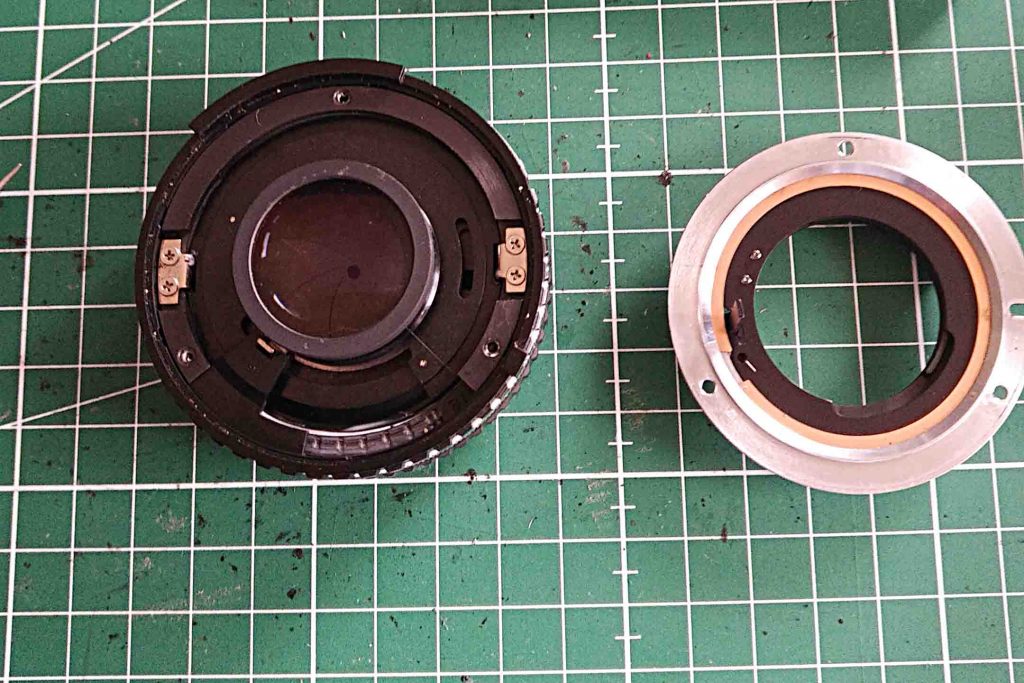
Cleaning of a Nikon 50mm f/1.8 E lens. The bayonet removed from the lens, giving access to the back groups.
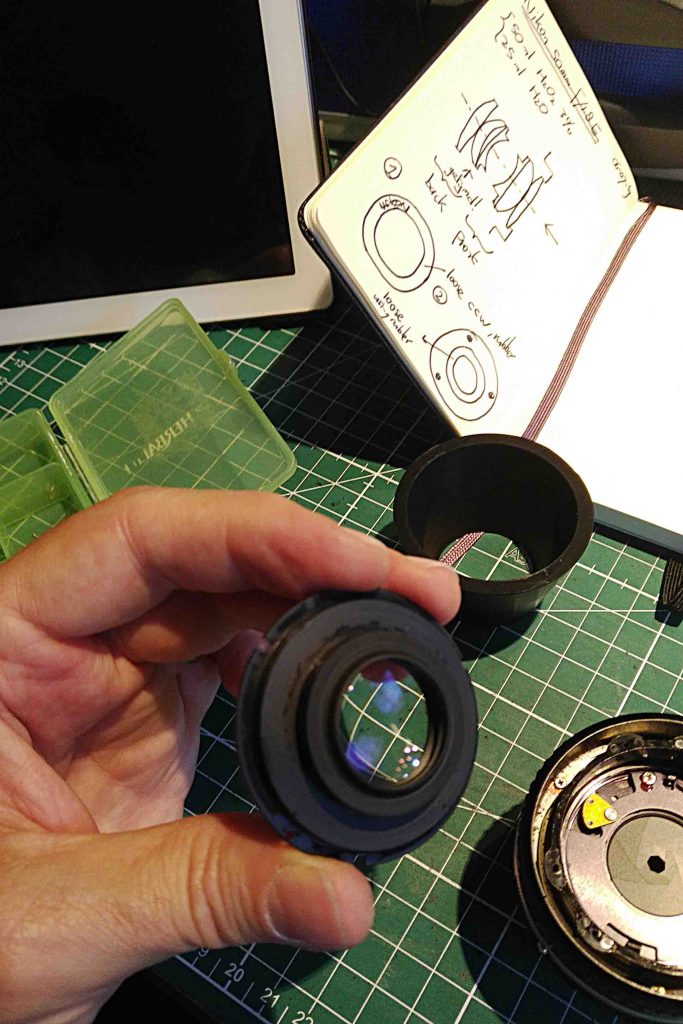
With the bayonet gone we can now unscrew the last lens element. It may be necessary to use a rubber grip to loosen this group.
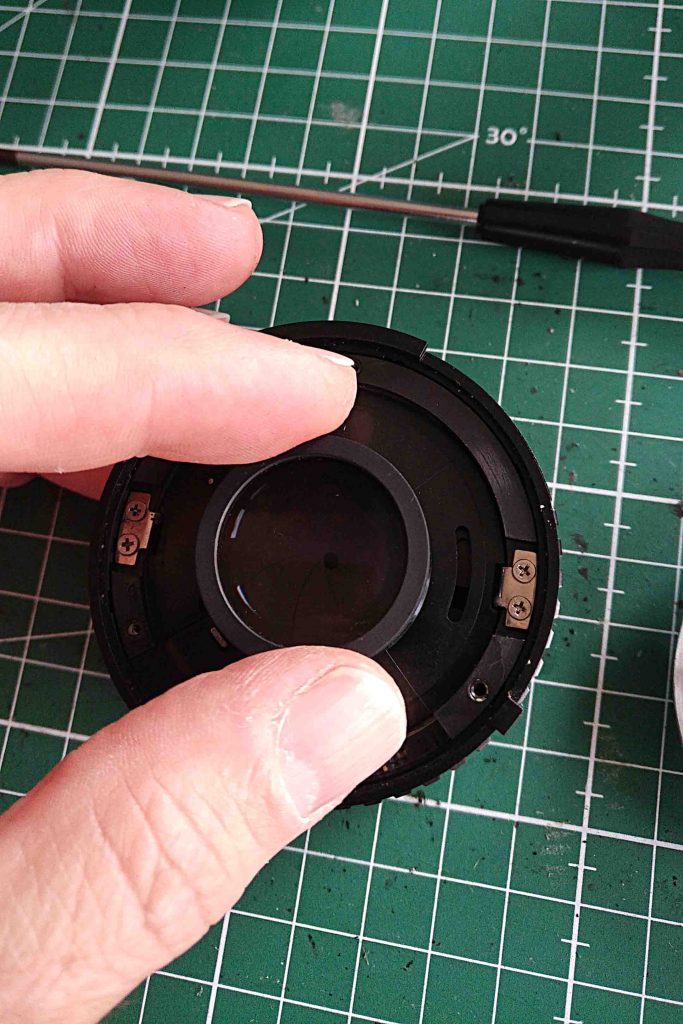
Getting access to the last lens and group.
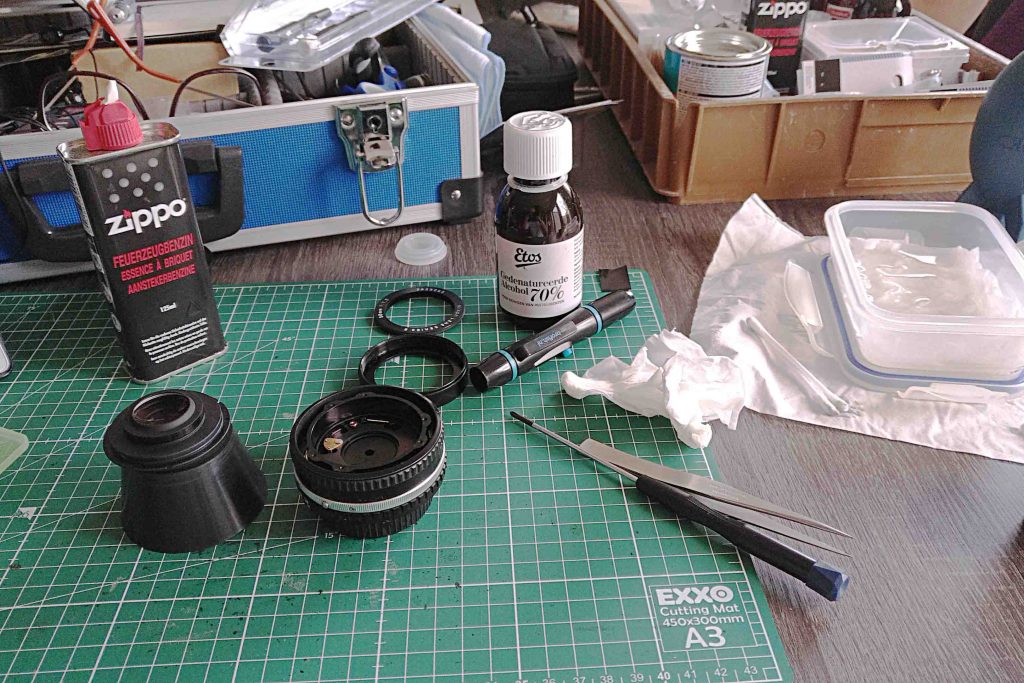
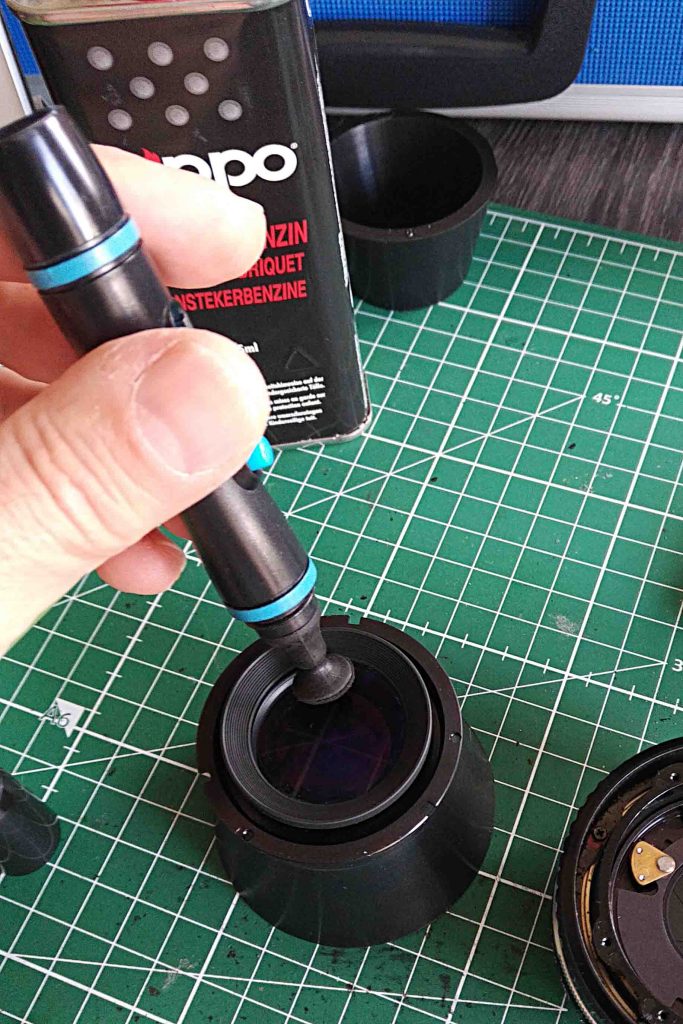
We can take out the last lens element now and clean it with lighter fluid followed by alcohol. Finally we will give it a wipe with a carbon-tipped lens pen to get rid of any traces of grease.
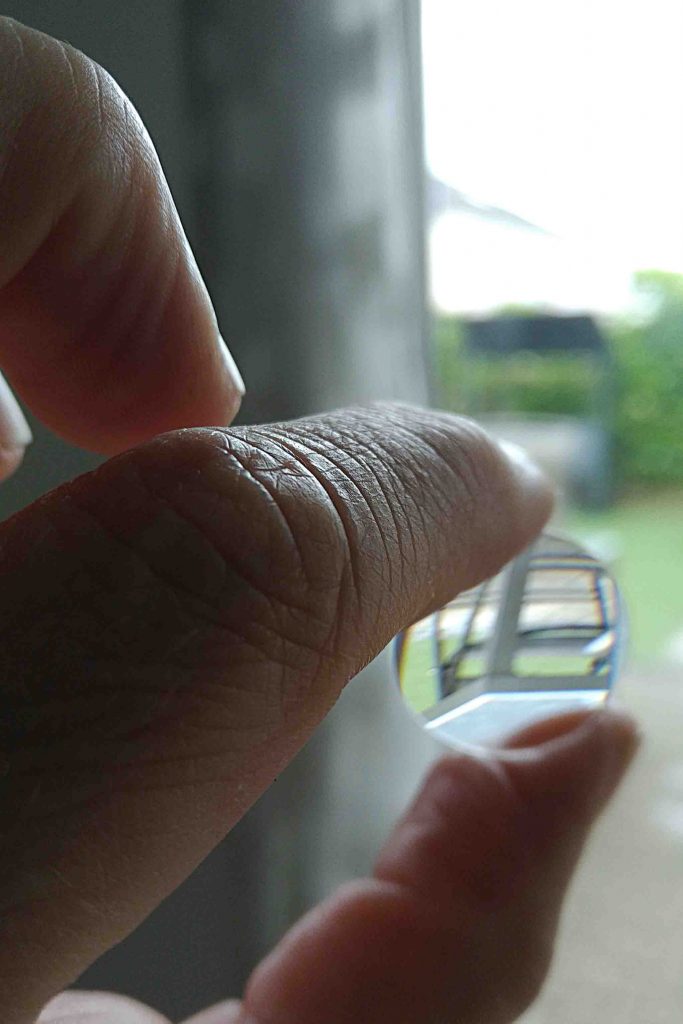
Cleaning of a Nikon 50mm f/1.8 E lens. Last element. Cleaned by using lighter fluid, alcohol and a wiping with a carbon-tipped lens pen.
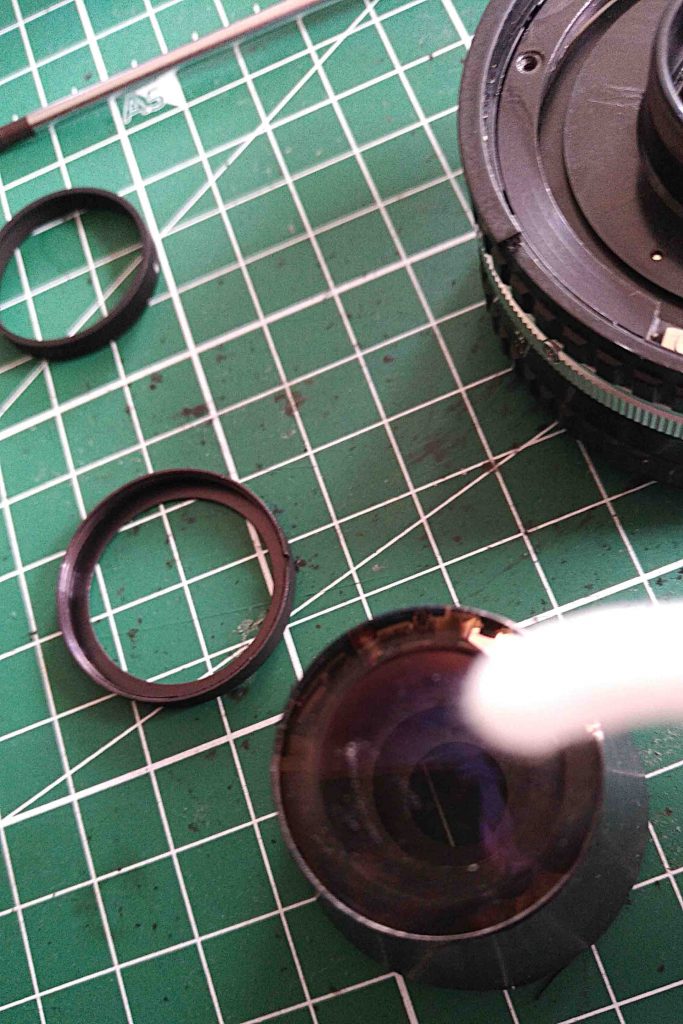
This last element was free of fungus. Both on the outside and on the inside. To move on to the next group, we remove the metal spacer. Notice the position of top and bottom before lying it down.
Removing the spacer between the last element and the last but final group.
Cleaning Fungus
Fortunately, this is as far as we will have to go. The fungus is located on this side of the lens group.
Cleaning of a Nikon 50mm f/1.8 E lens. Fungus on the final but last lens group.
We clearly see the fungus on the lens element facing us. We also see fungus on the inside of the lens assembly. The cleaning procedure is identical to what we have done in the front assembly of this lens. First we will extract the top lens of the lens group. We can do this by letting this element fall out or – preferbly – using a lens sucker. We are using a solution of 25ml, 3% hydrogen peroxide with 75ml water. With a q-tip we will clean the lens element and the lens assembly, killing the fungi at the same time.
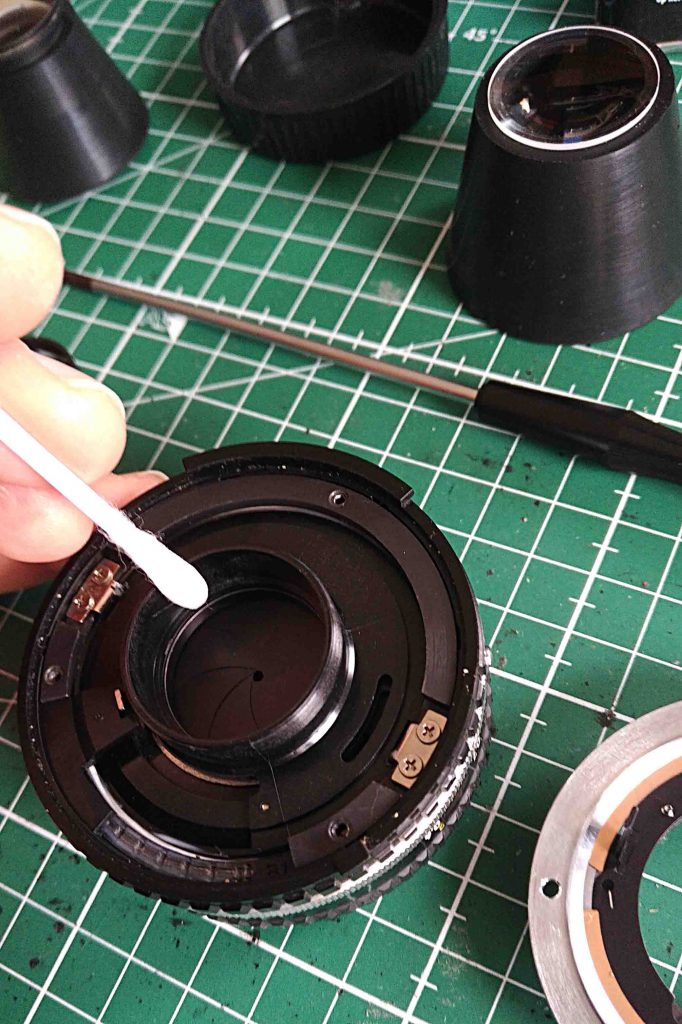
Cleaning of the lens assembly after extraction of the top lens from the one but final lens group. This lens is on top of the rubber grip.
Reassembly
In reassembling the lens we will take the reverse steps. In every step we will first clean the lens elements before replacing them.
Cleaning lens elements, using hydrogen peroxide, water, alcohol and a carbon-tipped lens pen.
Clean lens elements are reassembled.
Conclusion
Finally, we end up with a completely cleaned and fungus-free lens.
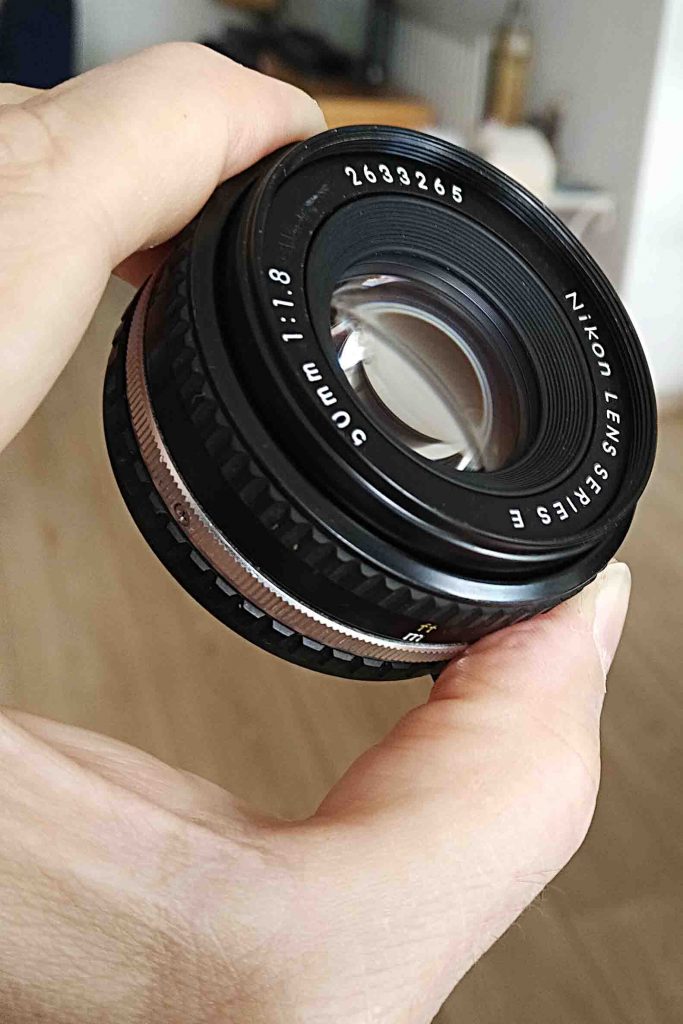
Clean and fungus-free Nikkor 50mm f/1.8 lens.
In the end, the cleaning of a Nikon 50mm f/1.8 E lens appeared to be fairly straight-forward. Despite the economy aspect, the lens has proved to be very serviceable. I am happy that the sudden outburst of fungus growth made me overcome my hesitation to open up this lens. In the end I have learned a lot from it. It has done no harm to the lens and as a reward I have now a clean and fully functional lens.